Depending on your Ability8 plan, there are two or three different types of user profiles that can be created via the Users screen:
Staff* - a person who works for you, such as a support worker (contract or directly employed), who you want to assign shifts to in the schedule, and allow them to access the app to view and/or add information.

User*- any person who you want to access the app to view and/or add information.
Contact - a business entity (e.g. doctors, suppliers and other service providers) that you want to store contact details and/or track payments against. No user licenses apply to contacts.

In the top menu, click Users.
Click the New User button.
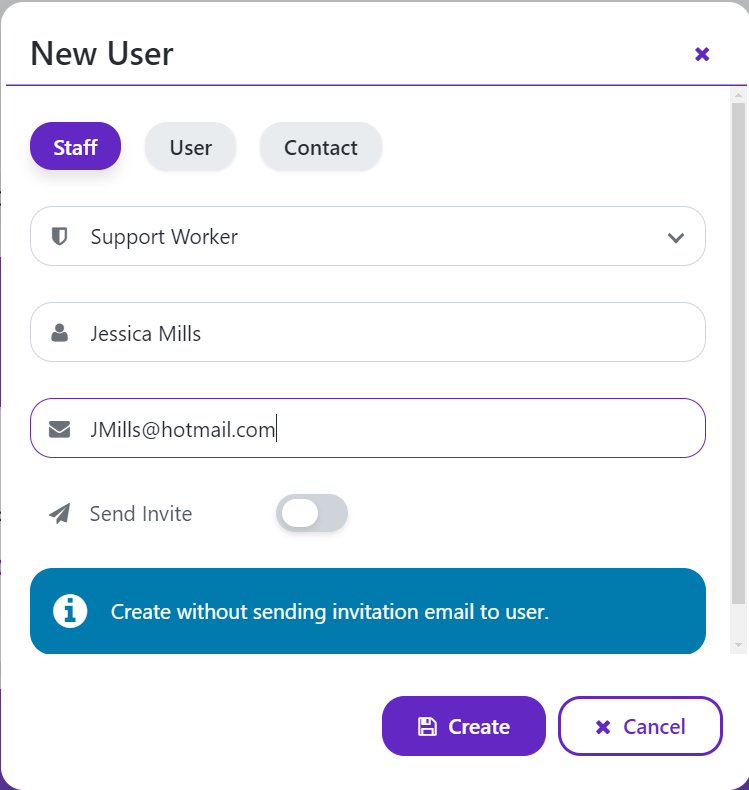
Select Staff or User.
Select the Relationship that best describes the user.
Enter the user's name and email address.
Click Create.
Before you send an invitation to the user, we recommend that you review the default permissions in the new user profile and change them to suit your preferences.

To check a user's permissions:
Click the user's name to open the profile.
Click the Permissions tab on the left.
Click the Edit button.
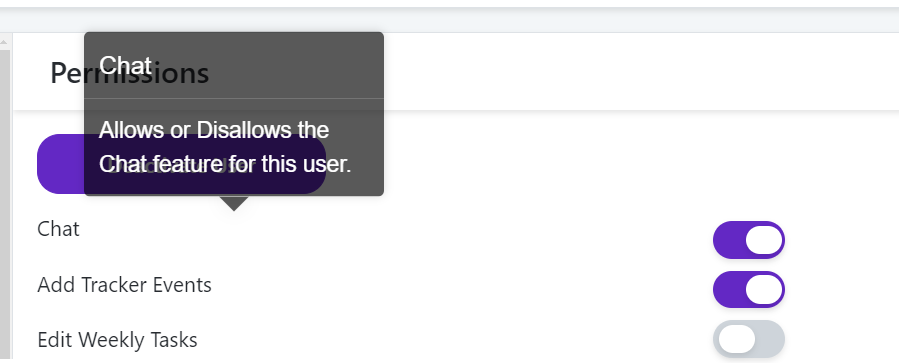
Review and update permissions in each section.
Click Save.
If you want to check what the user can see and do in the app, click the Login as User button and follow the prompts.
Once you're happy with the user's permissions, you can send an invitation to the user by clicking the 'here' link in the orange message displayed at the top of the user's profile.
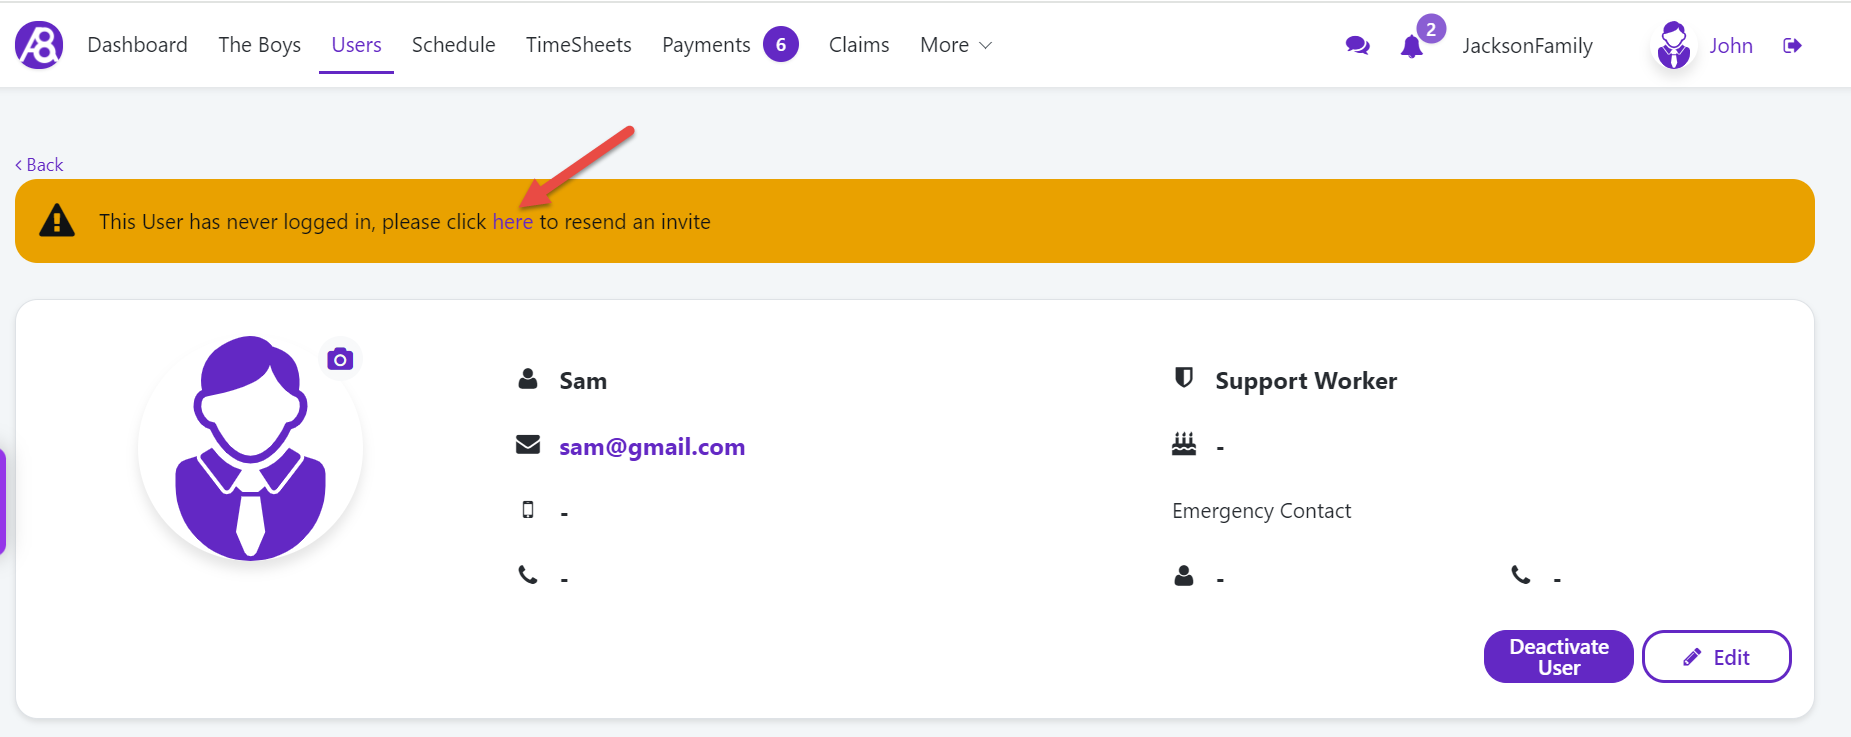
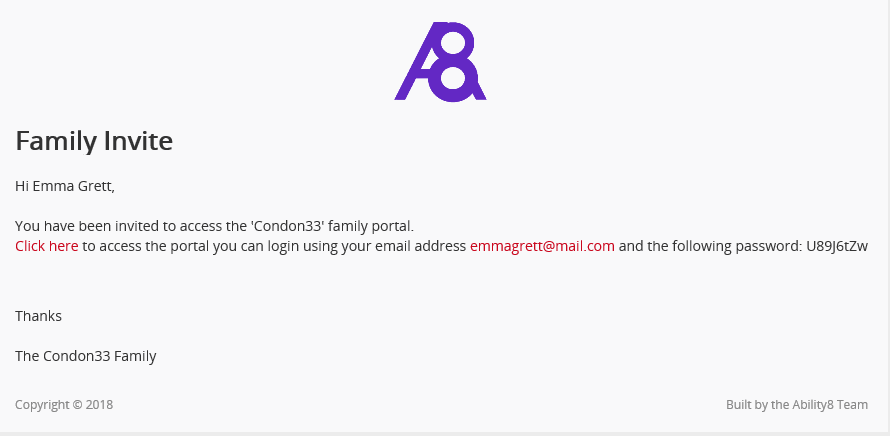
An email containing login details and a temporary password will be sent to the user.
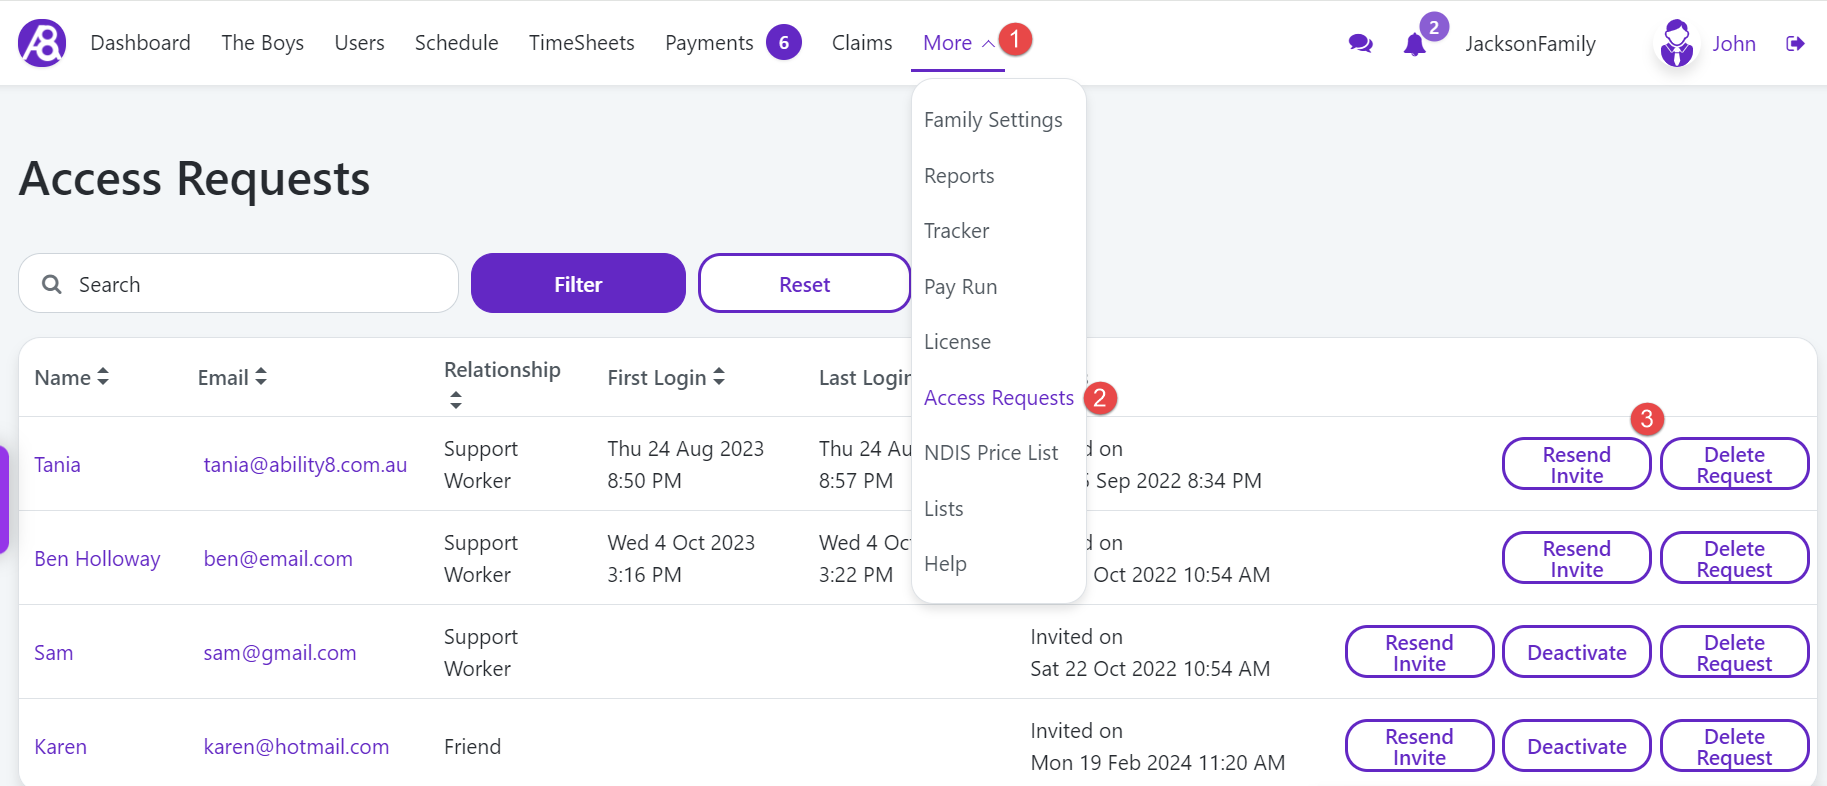
You can also track and resend invitations to users via the More menu > Access Requests screen.