If you have a staff member who is employed as a contractor and they are recording timesheets in Ability8, you can configure the app to allow an Administrator to create invoices on their behalf.
Creating contractor invoices in Ability8 increases the accuracy of invoices and eliminates the need for Administrators to manually cross-check invoices against hours worked, as all details come from the same system.
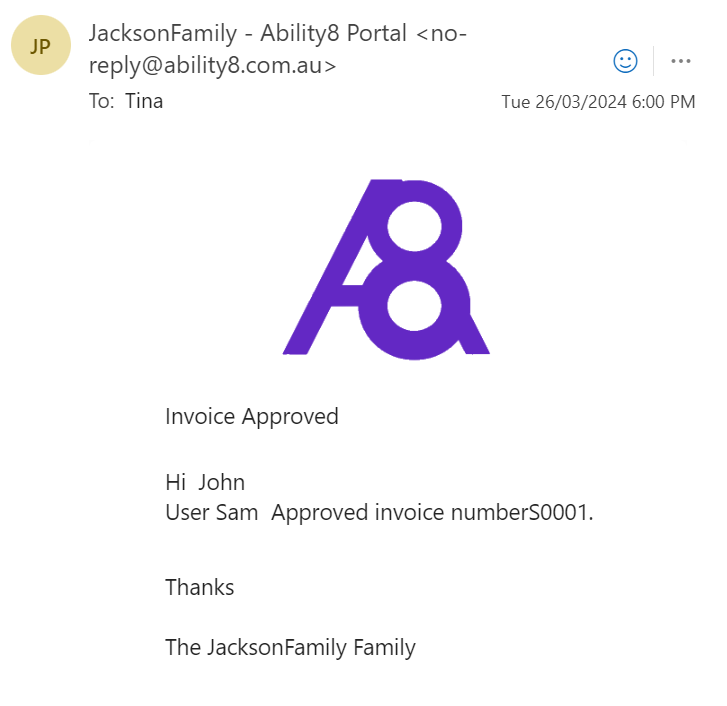
Once the invoice is created, it must be approved by the staff member before it is available for payment within the app. The staff member is automatically emailed a copy of the invoice for their personal records.
Go to the User's Profile > Employment Details tab.
In User Employment Type, select 'Contractor'.
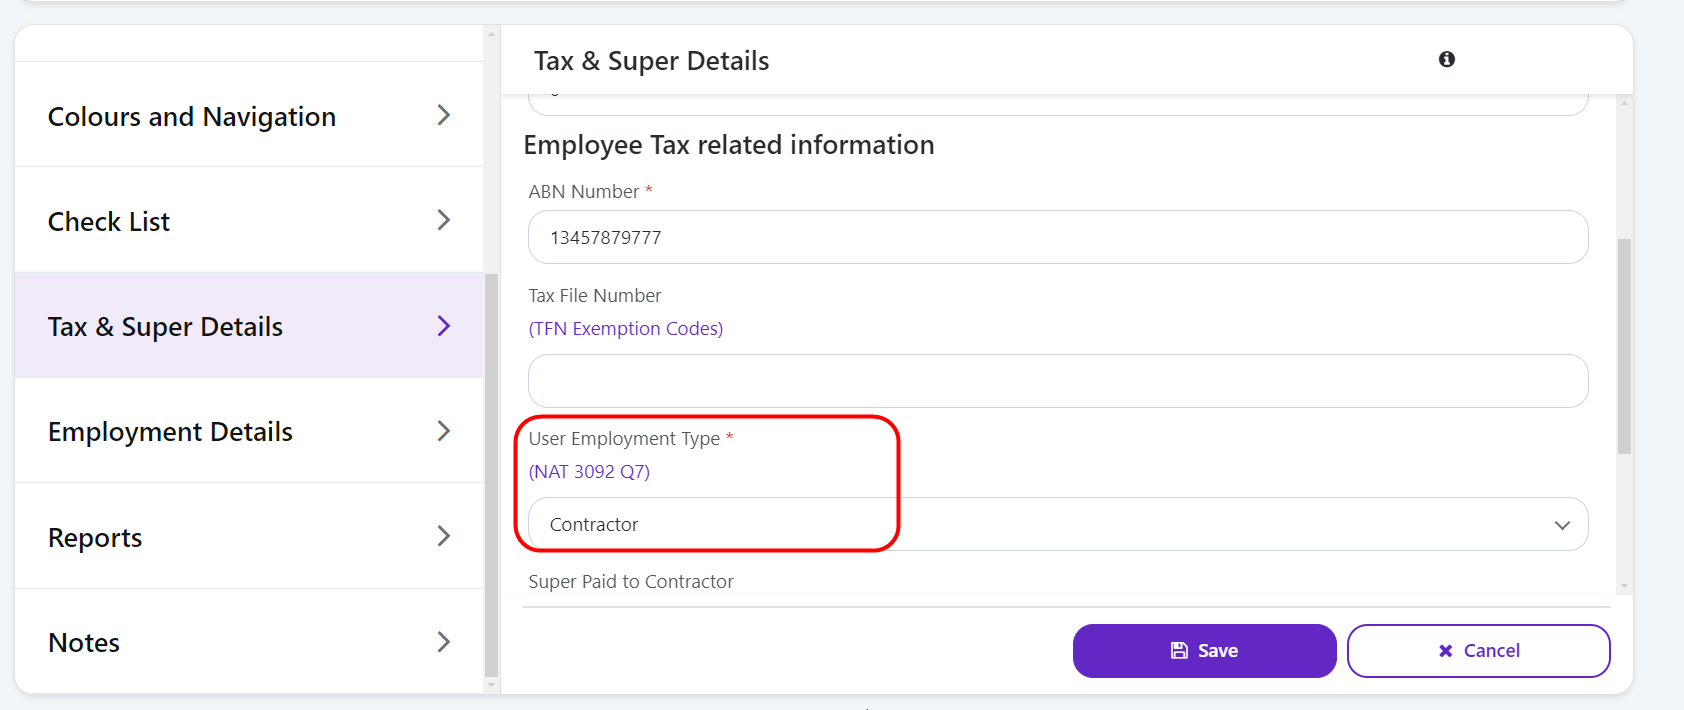
Click Save.
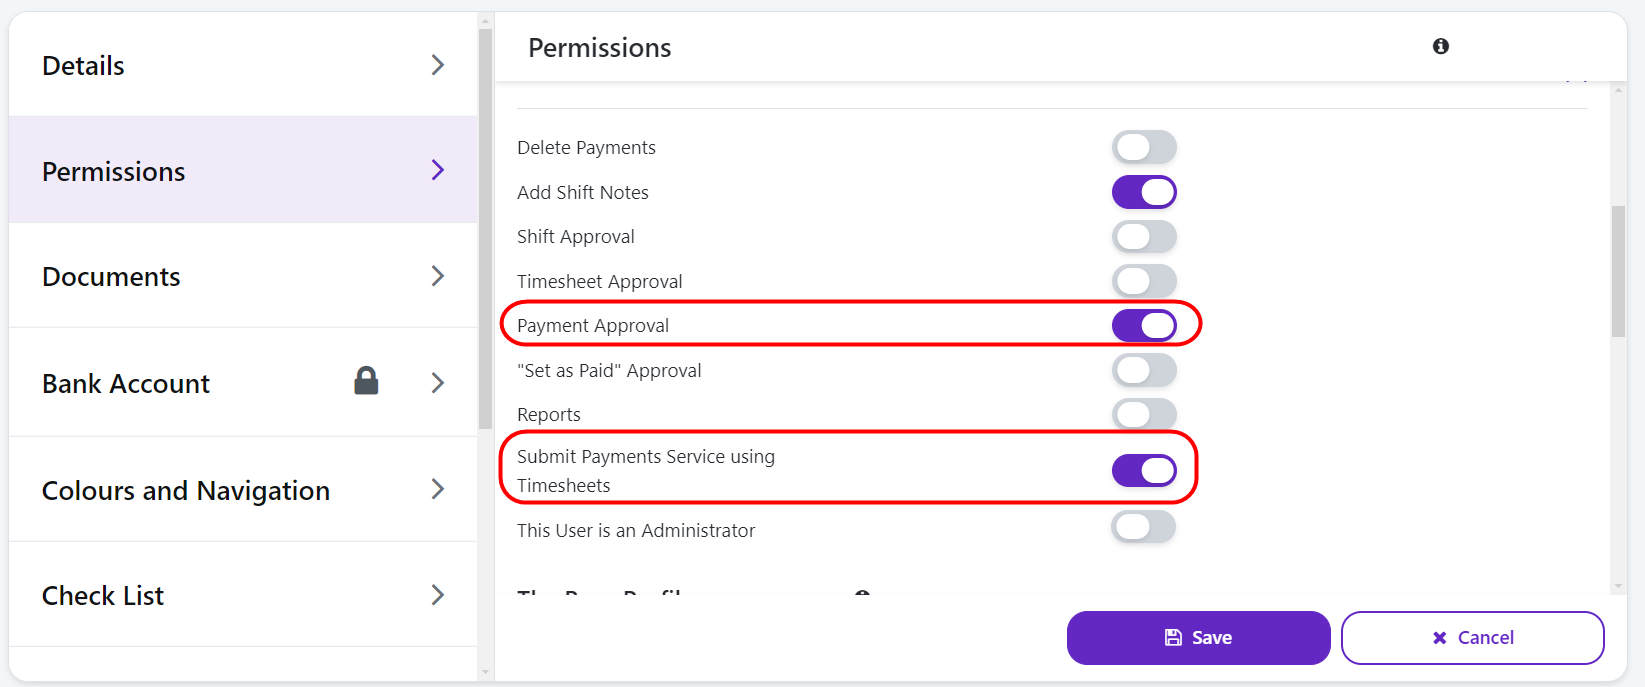
Go to the Permissions tab (left side) and click Edit.
Under Features, enable the following settings:
Payment Approval
Submit Payments Service using Timesheets
Under Menu Items > Payments, enable the following settings:
View Personal
Edit Personal
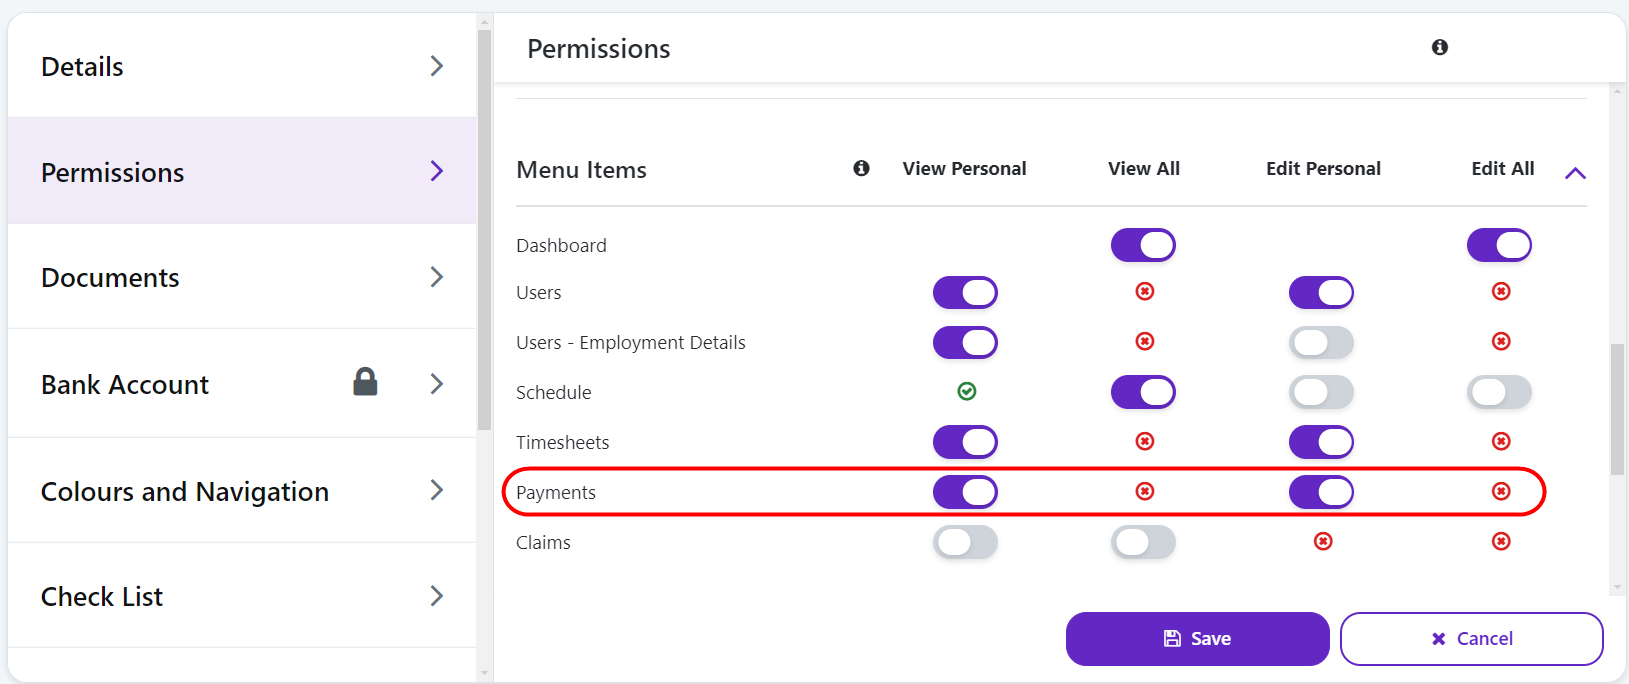
Click Save.
The staff member should continue to record their timesheets in the usual manner. At the end of the pay period, an Administrator creates the contractor invoice using the staff member's timesheet information.
To create a contractor invoice:
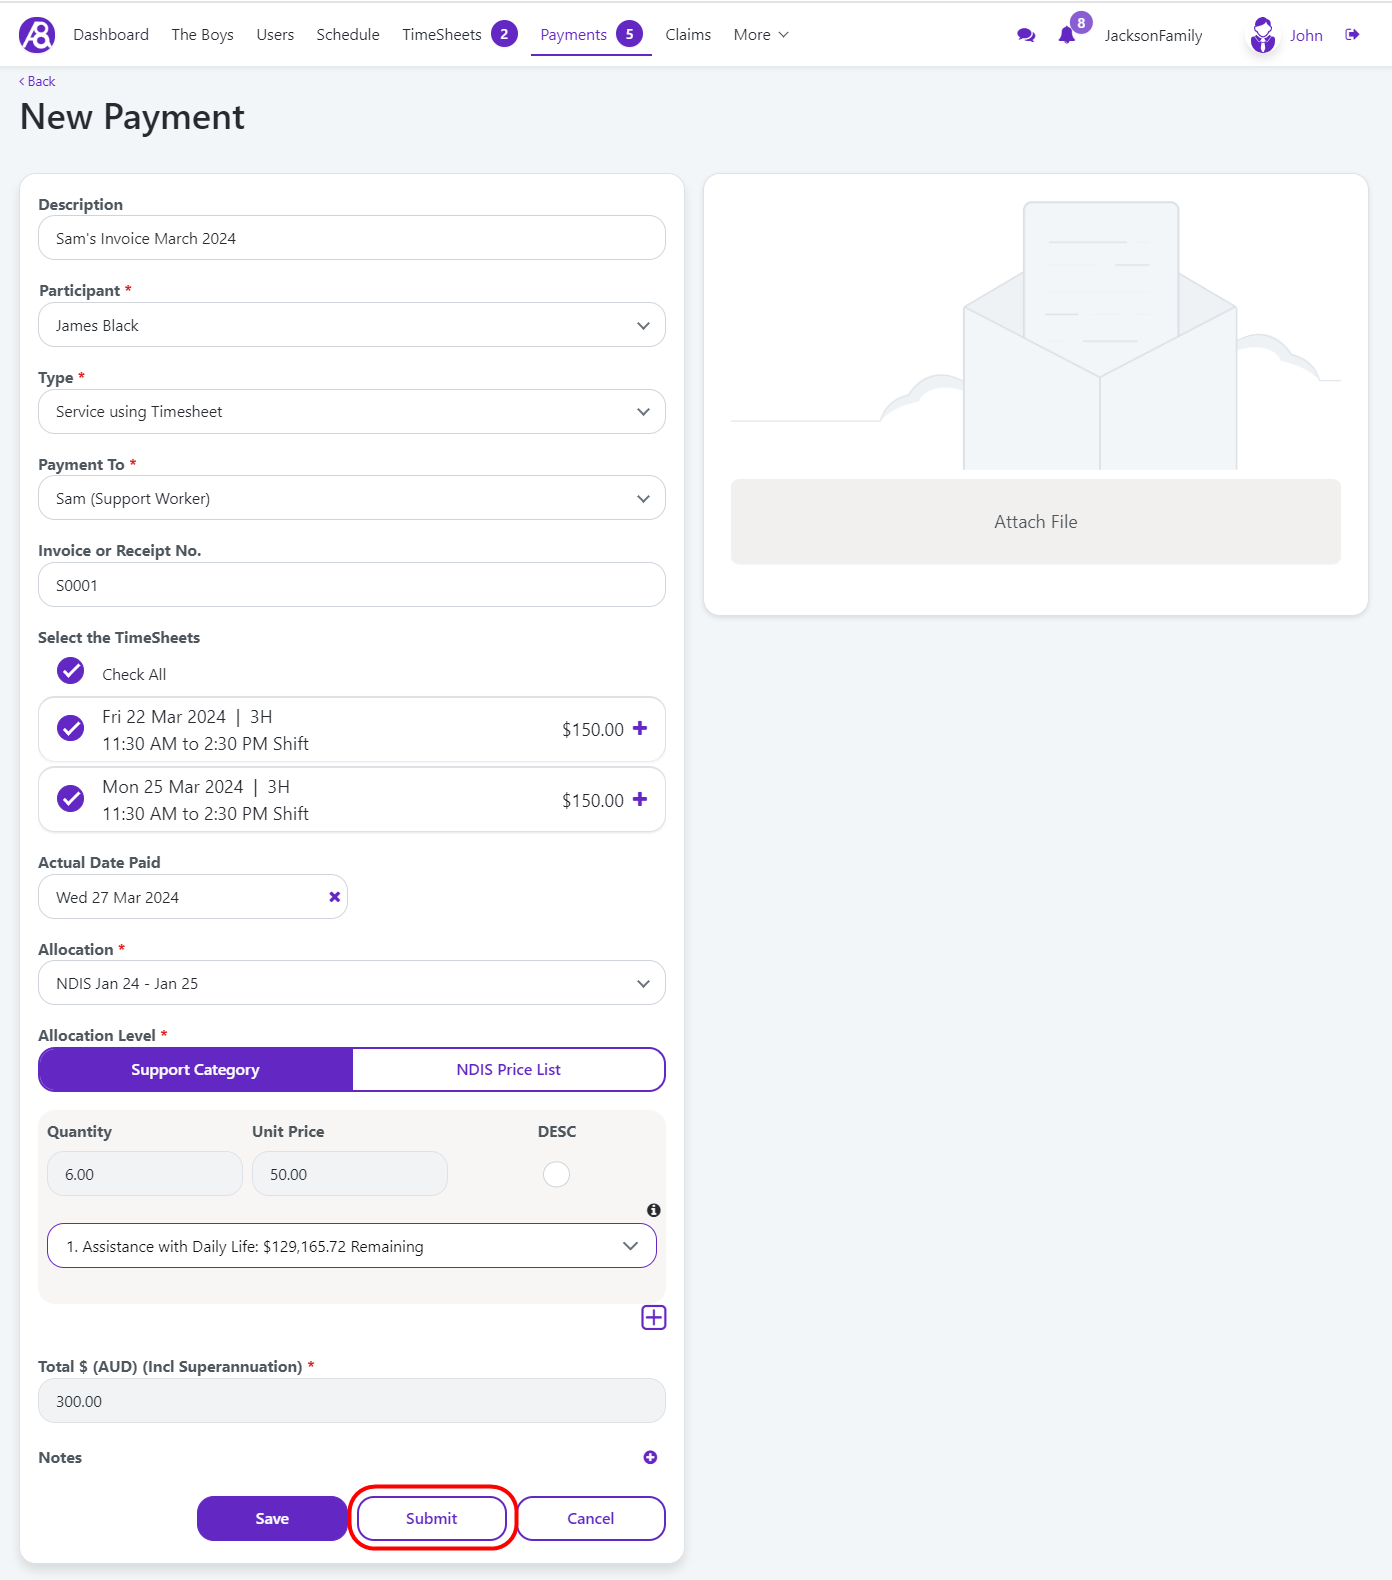
Go to Payments and click New Payment.
Enter a description, e.g. Sam Smith W/e 1/3/2024
Select the PWD.
In the Type field, select 'Service using Timesheets'.
In the Payment To field, select the staff member's name from the list. Only contractors will appear in this list.

Select the timesheets to be added to the invoice.
The Actual Date Paid is used as the invoice date. Enter the date that you want to appear on the contractor invoice.
In the Allocation field, select the funding plan.
Select the relevant Support Category.
Click Submit. Email and push notifications will be sent to the staff member.
The staff member must approve the invoice before it can be paid.
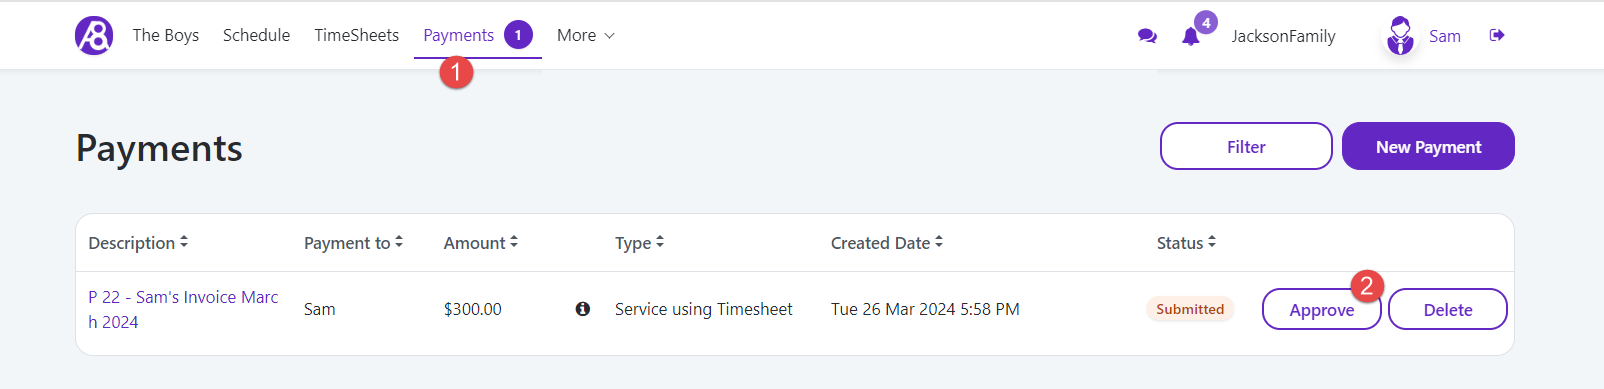
To approve a contractor invoice:
Go to Payments in the top menu. A number will be displayed indicating how many invoices are awaiting approval.
(Optional) Select the description link to view the invoice details.
Select the Approve button either in the list view or the detail view.
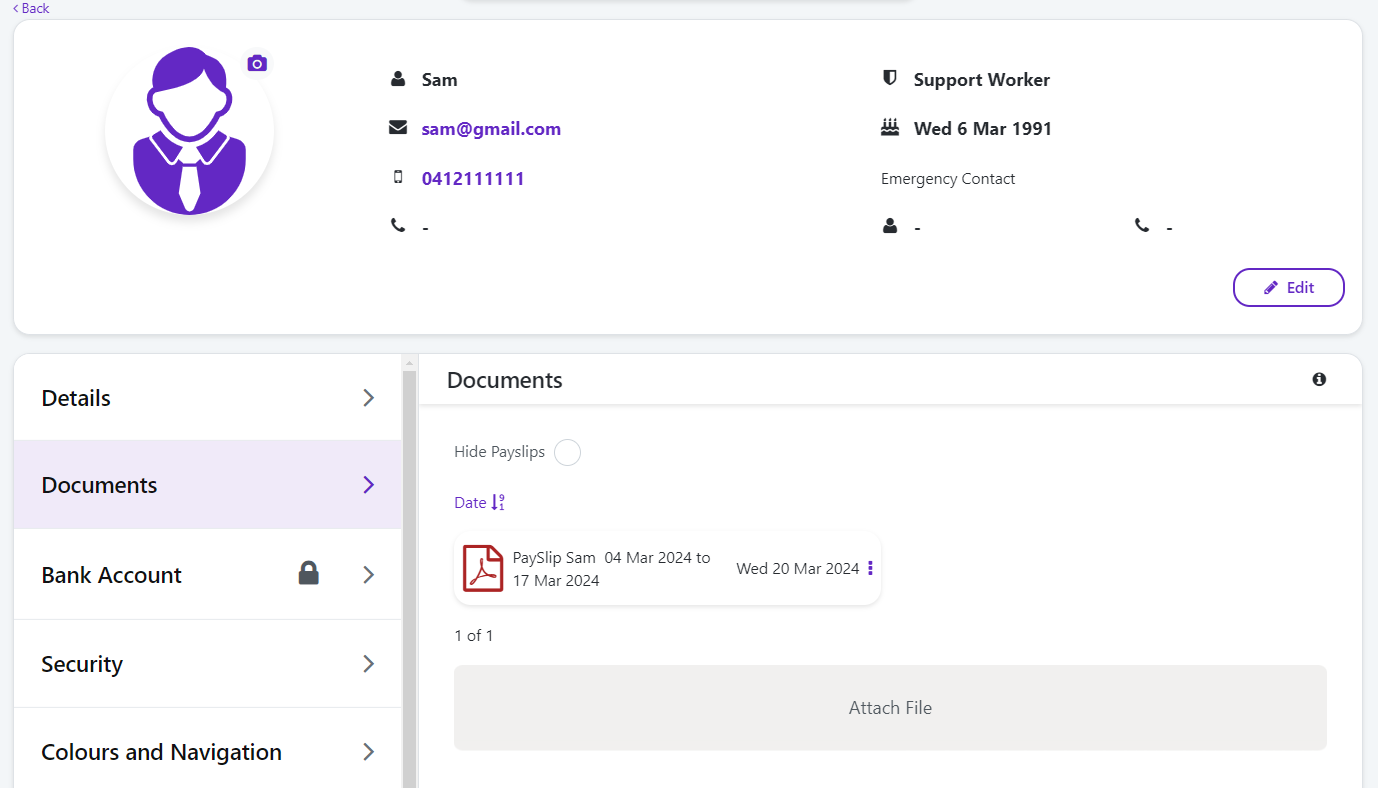
A copy of the approved invoice (payslip) is emailed to the staff member for their records, and saved in their User Profile > Documents section.
Email and push notifications are sent to the Administrator when the invoice is approved and ready for payment.